

Post-soft wash protection is the maintenance step that determines whether your siding stays clean for 12–24 months or starts deteriorating within weeks. Soft washing, which uses an 80/20 water and sodium hypochlorite solution to eliminate mold and algae at the source, leaves your exterior in its best condition. What happens in the hours and weeks after that service decides how long that condition lasts. This guide covers the exact steps to protect siding after soft washing, from the first 90 minutes post-service through to seasonal sealing and inspection routines.
What do you need to protect siding after soft washing?
The right tools and timing make the difference between siding that holds up for years and siding that starts showing wear within a season. Before you touch anything on the exterior, you need to understand the drying window.
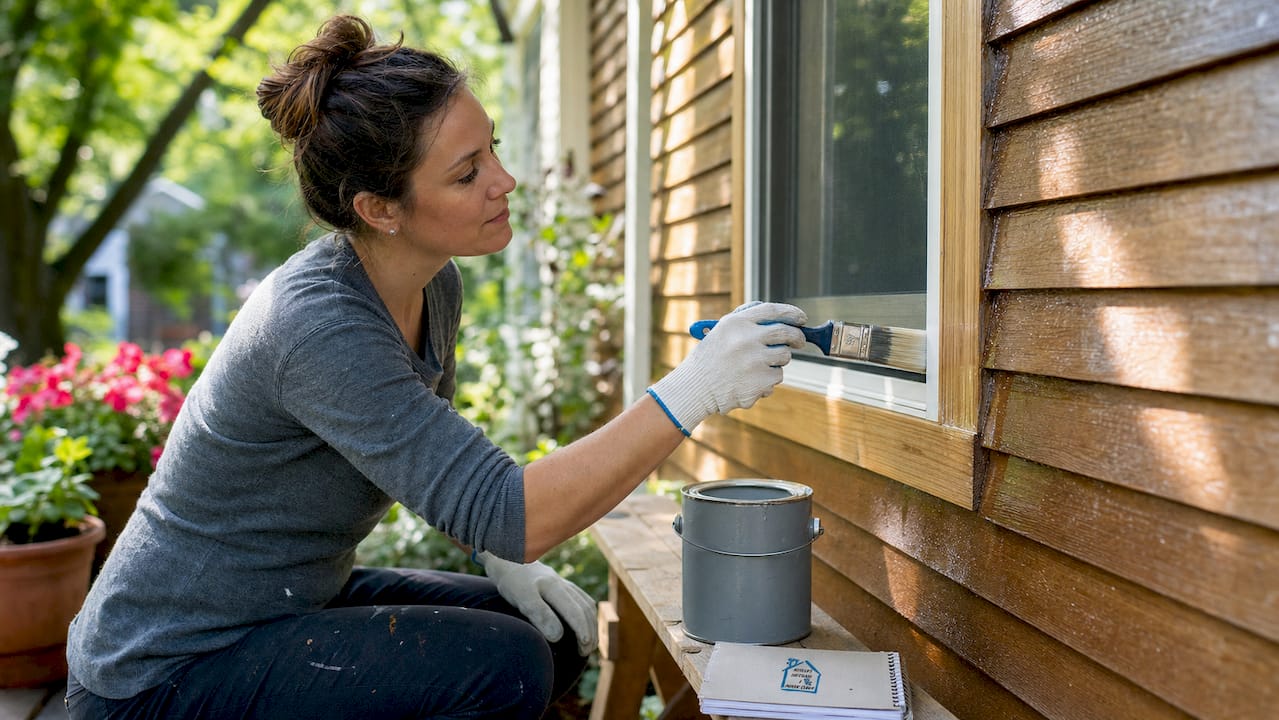
Drying time after soft washing typically ranges from 2–4 hours. During that window, keep windows closed, keep pets and children away from the treated surfaces, and avoid walking along the foundation perimeter. The surfactants in the cleaning solution need to dry fully before any follow-up work begins.
Here is a quick reference for the tools and products you will want on hand for post-wash care:
| Tool or Product | Purpose |
|---|---|
| Acrylic latex paint sealer | Seals vinyl and wood siding against UV and moisture |
| Paintable exterior caulk | Fills gaps at window frames, J-channels, and trim junctions |
| Flashing inspection tool or probe | Checks for lifted or damaged flashing at roof-wall intersections |
| Garden shears or pruning saw | Maintains 12-inch vegetation clearance from siding |
| Soft-bristle brush | Removes loose debris from J-channels and trim before sealing |
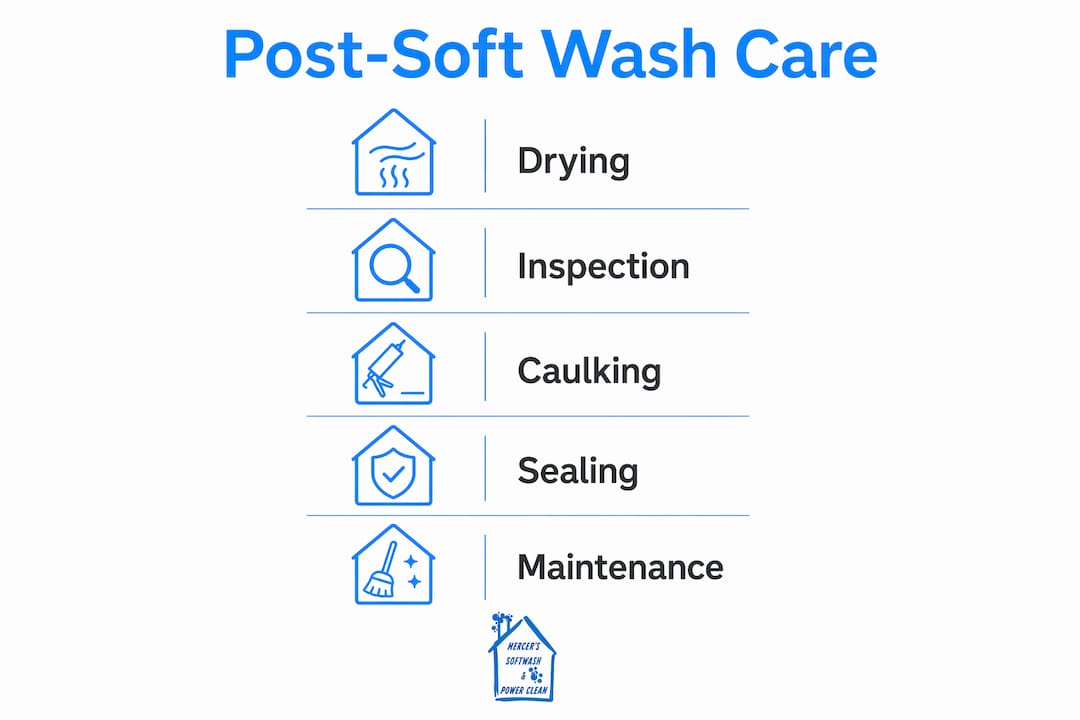
Pro Tip: Wait the full 2–4 hours before doing any inspection or follow-up work. Wet siding hides cracks, discolouration, and residual organic growth. A dry surface gives you an accurate picture of what still needs attention.
Safety during post-wash care is straightforward but non-negotiable. Keep children and pets away from treated areas for at least 90 minutes after service. Sodium hypochlorite residue on damp surfaces can irritate skin and paws. Rinse any plants at ground level that received overspray, and avoid applying sealants or caulk to surfaces that are still damp to the touch.
How do you inspect siding to prevent damage after soft washing?
A thorough inspection is the foundation of long-lasting siding care. Mercerssoftwashpowerclean recommends a 360-degree walk-around once surfaces are fully dry, which takes 2–4 hours after service. This is not a casual glance. You are looking for specific issues that soft washing may have revealed by removing the grime that was masking them.
Follow this sequence for a complete post-wash inspection:
- Start at the roofline. Check where siding meets the soffit and fascia. Look for lifted flashing, gaps in caulking, or dark staining that suggests moisture has been sitting.
- Move to window and door frames. These junctions are the most common entry points for water. Press gently on the caulk bead around each frame. If it flexes, compresses, or shows cracking, it needs replacement.
- Check J-channels on vinyl siding. J-channels trap water if they are not properly pitched or if debris has accumulated inside them. Pooling water in J-channels causes moisture retention that leads to rot behind the panel.
- Inspect individual panels. Look for warping, buckling, or loose fasteners. Soft washing does not cause these issues, but it does remove the dirt that was hiding them.
- Examine the foundation line. Water that runs down siding and pools at the base is a sign of grading or flashing problems, not just a cleaning issue.
Twice-yearly inspections, in spring and fall, are the standard for siding maintenance. Spring catches any damage from winter freeze-thaw cycles. Fall prepares the exterior for the coming cold and moisture load.
Vegetation management is a maintenance task most homeowners overlook. Shrubs, vines, and tree branches that contact siding trap moisture against the surface and create conditions where mold and algae return faster. Maintain at least 12 inches of clearance between any plant material and your siding. That clearance allows air to circulate and the surface to dry naturally after rain.
Pro Tip: Pay close attention to the north-facing walls of your home. They receive the least direct sunlight and stay damp longest after rain or washing. These walls are where mold and algae return first, so they deserve extra scrutiny during every inspection.
Flashing failures at window frames and roof-wall intersections are a leading cause of moisture damage even on recently cleaned siding. Proper flashing maintenance prevents water from infiltrating at these critical junctions. If you see rust staining, lifted edges, or gaps where flashing meets the siding, address those before applying any sealant.
What sealing treatments work best after soft washing?
Sealing is the step that extends the results of soft washing from a one-time clean into a long-term protection strategy. The right product depends on your siding material, and applying it to a properly prepared, dry surface is what makes it effective.
Here is how sealing requirements differ by material:
- Vinyl siding benefits from acrylic latex paint sealers applied after soft washing. Routine sealing cycles for vinyl can extend protection for up to 10–15 years when the surface is clean and dry before application. Vinyl does not absorb sealant the way wood does, so the goal is a thin, even coat that bonds to the surface and resists UV degradation.
- Wood siding requires sealing every 2–5 years. Wood is porous and absorbs moisture readily, which is why soft washing is particularly valuable before sealing. A clean, open-pore surface accepts sealant more evenly and bonds more durably than a surface with residual grime or biological growth.
- Fibre cement siding (such as James Hardie products) is factory primed but benefits from a quality exterior paint or sealer to maintain its weather resistance. Check the manufacturer’s specifications before applying any third-party product.
| Siding Material | Recommended Sealant Type | Resealing Frequency |
|---|---|---|
| Vinyl | Acrylic latex paint sealer | 10–15 years |
| Wood | Penetrating oil or acrylic sealer | 2–5 years |
| Fibre cement | Exterior paint or manufacturer-approved sealer | Per manufacturer spec |
Never apply sealant to siding that is still damp. Moisture trapped under a sealant layer causes bubbling, peeling, and can accelerate the very rot you are trying to prevent. Wait the full drying period after soft washing, confirm the surface is dry to the touch, and check the weather forecast. Applying sealant with rain in the forecast within 24 hours wastes the product and the effort.
Caulking is part of the sealing process, not an afterthought. Use a paintable exterior caulk rated for the temperature range in your region. Southern Ontario winters demand a product that remains flexible through freeze-thaw cycles. Apply caulk at all trim junctions, around window and door frames, and anywhere two different materials meet on the exterior.
How do you avoid common mistakes when protecting siding?
The most common errors in post-soft wash care are not about the products used. They are about timing and sequence. Getting either wrong can undo the benefits of a professional clean.
- Opening windows too soon. Chemical residues from soft washing can irritate pets, children, and indoor plants if windows are opened before surfaces are fully dry. Keep windows closed for the full drying period.
- Applying sealant to wet surfaces. This is the single most common DIY mistake. Sealant applied to damp siding does not bond correctly and will fail prematurely.
- Using high-pressure washing after soft washing. Soft washing preserves factory finishes that high-pressure washing strips away. Following a soft wash with a pressure wash defeats the purpose of the gentler method and can force water behind panels.
- Ignoring J-channel drainage. J-channels on vinyl siding need to be clear of debris and properly pitched so water exits rather than pools. Check them during every inspection.
- Skipping the inspection after cleaning. Many homeowners assume a clean exterior is a healthy one. Soft washing removes the biological growth that was masking cracks, failed caulk, and lifted flashing. The post-wash inspection is when those hidden issues become visible.
Soft washing is preventive maintenance that preserves siding integrity and avoids moisture problems. The cleaning is only the first step. What you do in the days and weeks after determines whether that investment holds.
Pro Tip: If you notice any areas where the soft wash solution dried on the siding before rinsing, address them immediately. Dried chemical residue can leave a white haze on darker siding colours. A light rinse with clean water removes it without damaging the surface.
The seasonal exterior cleaning schedule matters here too. Cleaning in sections and timing your post-wash care to avoid direct midday sun reduces the risk of solution drying on the surface before it can be rinsed. Early morning or late afternoon service windows are ideal in Southern Ontario summers.
Key takeaways
Protecting siding after soft washing requires a structured sequence of drying, inspection, caulking, and sealing to maintain both appearance and structural integrity over the long term.
| Point | Details |
|---|---|
| Respect the drying window | Wait 2–4 hours before inspecting or applying any follow-up treatments to siding. |
| Inspect twice yearly | Conduct a full 360-degree inspection in spring and fall, focusing on flashing, caulk, and J-channels. |
| Match sealant to material | Use acrylic latex for vinyl, penetrating oil or acrylic for wood, and manufacturer specs for fibre cement. |
| Manage vegetation clearance | Keep at least 12 inches between plant material and siding to prevent moisture buildup and mold return. |
| Avoid high-pressure follow-up | Never use a pressure washer after soft washing, as it strips factory finishes and forces water behind panels. |
What i have learned from years of post-wash siding care
After working with homeowners across Southern Ontario, the pattern I see most often is this: the cleaning gets done properly, and then the follow-up care gets skipped or rushed. That is where the money gets left on the table.
The homeowners who get the most out of a professional soft wash are the ones who treat it as the start of a maintenance cycle, not the end of one. They do the inspection while the surface is dry. They recaulk the window frames that the cleaning revealed were failing. They trim back the cedar hedge that has been sitting against the north wall for three seasons. Those small steps are what keep siding looking clean and structurally sound for years.
I have also seen material-specific mistakes that are worth naming directly. Wood siding owners sometimes apply sealant too soon after washing because they are worried about moisture absorption. Waiting the full drying period is always the right call, even with wood. Fibre cement owners sometimes assume the factory finish is permanent. It is not. It needs maintenance just like any other exterior material.
The honest truth is that DIY post-wash care works well for straightforward maintenance tasks like caulking and vegetation management. Where it tends to fall short is in the inspection itself. Most homeowners do not know what lifted flashing looks like, or how to distinguish a cosmetic surface crack from one that is letting water into the wall assembly. That is where a professional eye adds real value, and where skipping it costs the most in the long run.
— Felix
How Mercerssoftwashpowerclean supports your siding after every clean
Mercerssoftwashpowerclean provides professional soft washing and exterior cleaning services across Southern Ontario, and the service does not stop when the truck leaves your driveway. If you want to understand exactly what the soft washing process involves and how it protects your siding, the soft washing guide on the Mercerssoftwashpowerclean website covers the full process in plain language. For homeowners comparing methods, the soft washing vs pressure washing page explains exactly why low-pressure cleaning protects your siding where high-pressure washing causes damage. If you are ready to book a service or discuss a maintenance plan for your property, reach out to Mercerssoftwashpowerclean directly to get started.
FAQ
How long after soft washing can i apply sealant to siding?
Wait at least 2–4 hours after soft washing before applying any sealant. The surface must be completely dry to the touch for the sealant to bond correctly.
How often should i inspect siding after a soft wash?
Inspect siding twice yearly, in spring and fall. A post-wash inspection immediately after the drying period is also recommended to identify any issues the cleaning has revealed.
Does soft washing eliminate the need for siding sealant?
No. Soft washing removes biological growth and surface contaminants, but it does not seal the surface. Sealing is a separate step that adds UV and moisture protection after cleaning.
Why should i avoid pressure washing after soft washing?
High-pressure washing strips factory finishes and can force water behind siding panels. Soft washing preserves those finishes, so following it with pressure washing undoes that protection.
What are the most vulnerable spots to check after soft washing?
Window frame junctions, J-channels on vinyl siding, and roof-wall flashing intersections are the most common trouble spots. These areas are prone to moisture infiltration and should be checked during every post-wash inspection.


